 Stuart Kerr Spindlow
Start with a backlog you can explain
I recommend starting with one backlog List, one owner per item and a short definition of Ready. That gives a small team somewhere clear to refine work before adding sprint machinery. The five-story example below connects ownership, acceptance checks and the exit record without building a hierarchy the team does not need.
I have used ClickUp hands-on. The worked examples are illustrative, and the linked product details were checked on 9 September 2026. Confirm the plan and requirements for your own team.
ClickUp documents a dedicated backlog List and distinguishes adding a task to a sprint from moving it. Adding keeps the task in its existing List; moving changes its location. Choose deliberately so your team knows where to refine unfinished work. See ClickUp backlog guidance.

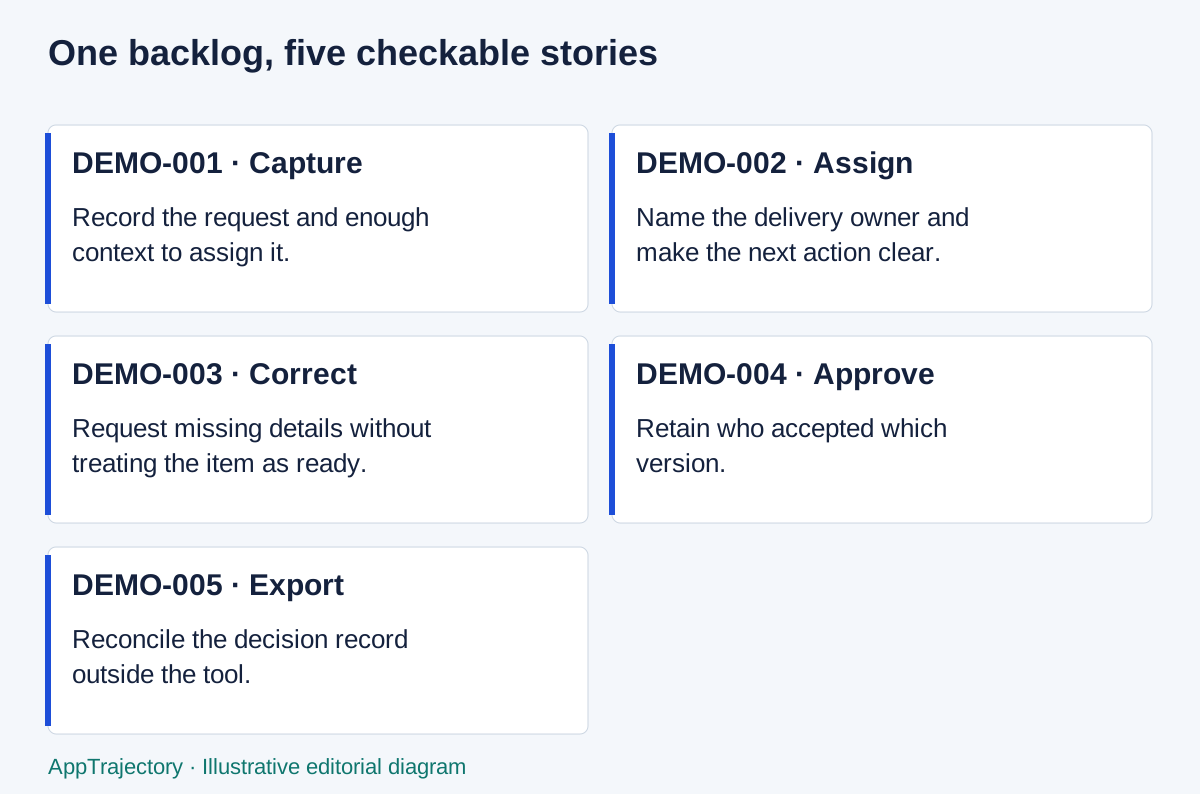
Read the diagram as text
- DEMO-001 · Capture: Record the request and enough context to assign it.
- DEMO-002 · Assign: Name the delivery owner and make the next action clear.
- DEMO-003 · Correct: Request missing details without treating the item as ready.
- DEMO-004 · Approve: Retain who accepted which version.
- DEMO-005 · Export: Reconcile the decision record outside the tool.
Set up the backlog in order
Use an authorised test List for the fictional Onboarding Refresh project. These instructions combine supplier-documented controls, checked on 18 September 2026, with the proposed workflow below. They are not a newly observed account test.
- Open the test List and use List view. Keep one backlog location while you learn the workflow; do not add sprint machinery just to follow this example.
- Open the List’s ellipsis menu and its status settings. Confirm whether it inherits parent statuses before making a List-specific change. Use a short workflow that distinguishes not-ready work from work ready for delivery.
- Create the five synthetic records below. Put the request reference in each task and write the requested outcome and acceptance criteria in the description.
- Use the List view’s Fields controls to show the fields needed for triage, including assignee, status and due date. Assign test roles deliberately; a requested date is not automatically a delivery promise.
- Open DEMO-001 and check that the owner and acceptance conditions are understandable. Move an incomplete example back for clarification before calling it Ready.
- Use the view export control only if the current role and plan allow it. Reconcile the output against DEMO-001 through DEMO-005, including any closed records, and record omissions.
Control references: List view customisation · status inheritance and editing · List and Table export. Permissions and export limits need checking on the actual account.
Use five synthetic stories
Illustrative sample: create a fictional project called Onboarding Refresh. Use these five records: DEMO-001, Capture a project request; DEMO-002, Assign the delivery owner; DEMO-003, Request a correction; DEMO-004, Approve the accepted version; DEMO-005, Export the decision record. Use role labels until the authorised tester maps them to consenting test participants.
For DEMO-001, the acceptance check is that a coordinator can record a request reference, intended outcome and requested date, and identify missing information before accepting the request. For DEMO-002, the owner must be visible to the delivery lead. For DEMO-003, preserve the reason for correction. For DEMO-004, retain the approver and accepted version. For DEMO-005, reconcile those details outside the tool. These are proposed requirements, not statements about current product behaviour.
Define readiness before adding sprint machinery
Use a small status vocabulary: Needs detail, Ready, In progress, Review and Done. Agree who may advance each state. Priority describes ordering; status describes progress. A due date is a commitment to investigate, not evidence that capacity exists.
Write the outcome and acceptance criteria in the task description. ClickUp represents epics and stories as tasks and documents Relationships for linking them. An admin or owner enables Tasks in Multiple Lists when that capability is needed. Verify your plan and role before relying on it. See epics and user stories.
Check access and the exit record
Create two synthetic client contexts. With the intended reviewer role, attempt to open the other client’s direct record URL, search for it and retrieve an export. Record every allowed and denied action. A filtered view alone is not proof of an access boundary. Follow the remote-team access checklist.
Export the five stories using the available route and compare IDs, owners, statuses, criteria, relationships and approval notes. Retain missing fields as failures or explicit limitations. Check attachment access after removing the test user’s access through an authorised process. A file that opens is not yet a usable exit record.
Avoid overbuilding the pilot
Keep a spreadsheet or the current task list as the baseline. If it already makes ownership, order and decisions clear, the new tool must justify its migration and administration costs. Use the existing story worksheet and prioritisation method rather than copying every field into a new hierarchy.
Choose the simplest ClickUp setup that preserves ownership, priority and a usable decision record. Use the software pilot plan to check the actual plan, permissions and export route. If keeping the backlog understandable takes more administration than the team gains, simplify it before migrating more work.
If approved requests already arrive in Google Sheets, the Make and ClickUp intake guide shows how to hand them into the backlog and return the task reference. Keep intake approval separate from backlog prioritisation.
Why I would keep one backlog List
For the five-story example, I prefer one List because the team has one place to check readiness and ordering. Multiple Lists are justified when ownership or access genuinely differs; creating a List for every status merely gives someone more locations to maintain. If delivery already centres on issues and pull requests, GitHub Projects is the stronger alternative because it keeps planning attached to those records. For a short internal list without that connection, a shared board or spreadsheet may be enough.
The useful exit count is five unique story references, with the required fields reconciled for each. Five exported rows alone could hide a duplicate and a missing story. ClickUp’s current view-export instructions exclude collapsed groups and require deliberate subtask inclusion; checked on 23 September 2026. Expand the relevant groups before judging an apparent omission. These are documented controls, not results from running this example in an account.
For recurring List or Table exports, budget for Business and verify the intended role. ClickUp’s view-specific limits table lists no view exports on Free Forever, five uses on Unlimited and unlimited uses on Business. Its import/export limits page instead describes five List, Table or Form view exports on both Free Forever and Unlimited, while the export overview describes List/Table export as Business and above. These official descriptions differ, checked on 19 October 2026. Do not rely on a Free allowance when export is essential; verify the exact view, plan and role in the pilot. Workspace task-data export is a separate route with its own permissions.
Explore the options
Sources and scope
The sources below support the feature, price and plan details in this guide. Prices and limits may change; check the actual order and plan.